Thingsboard
The collection and storage of telemetric data is critical in the IoT application.ThingsBoard is an open-source networking platform that supports equipment management, data visualization and analysis.CnosDB is a high-performance time-series database designed to handle large amounts of time series data.This paper will describe how ThingsBoard will be integrated with CnosDB to store and manage telemetric data.
Environment
Before you start, make sure you are ready for:
- Docker: runs the containers of ThingsBoard and CnosDB.
- Developer environment: Python, Java, or other programming languages used to run programs simulating IoT devices.
Step 1: Start CnosDB
CnosDB installation works with official documents.Run the following command, start CnosDB: via Docker
docker network create tb-cnosdb
docker run -d --name cnosdb --network tb-cnosdb cnosdb/cnosdb:community-latest
Execute the SHOW DATABASS command to verify that CnosDB successfully started:
docker exec cnosdb curl -s -X POST -u 'root:' 'http://127.0.0.1:8902/api/v1/sql' -d 'SHOW DATABASES'
Indicate CnosDB to start and initialize successful: if the following data is exported.
database_name
cluster_schema
public
usage_schema
Step 2: Start ThingsBoard (CnosDB)
Developed on the basis of ThingsBoard-v3.7, add functionality to store time series data using CnosDB, get package requestedcontact us.
Start ThingsBoard blend mode by setting the database.ts.type=cnosdb or the environmental variable DATABASE_TS_TYPE=cnosdb in the configuration file (physical data stored to PostgreSQL, time series stored to CnosDB).
When starting ThingsBoard with mixed mode, additional time series database sections are required. The time series database CnosDB configuration item: below describes the time series database
cnosdb.hostor an environmental variableCNOSDB_HOST- the IP and port numbers of the database JDBC service, defaults to127.0.0.1:8904.cnosdb.tenantor an environmental variableCNOSDB_TENANT- CnosDB tenant name, defaults tocnosdb.cnosdb.databaseor environmental variableCNOSDB_DATABASE- CnosDB database name, defaults tothingsboard.cnosdb.useror environmental variableCNOSDB_USER- CnosDB username.cnosdb.passwordor an environmental variableCNOSSDB_PASSWORD- CnosDB password.
Configuration file example:
cnosdb:
  host: 'cnosdb:8904'
  tenant: 'cnosdb'
  database: 'thingsboard'
  user: 'root'
  password: 'root'
Below is the basic step: to install ThingsBoard with Docker
Import Images
docker load -i tb-postgres-cnosdb.tar
Start ThingsBoard (CnosDB), exposing HTTP port 9090 and MQTT port 1883
docker run -d --name thingsboard --network test \
  -p 9090:9090 -p 1883:1883 \
  -e TB_QUEUE_TYPE=in-memory \
  -e DATABASE_TS_TYPE=cnosdb \
  -e _JAVA_OPTIONS='--add-opens=java.base/java.nio=org.apache.arrow.memory.core,ALL-UNNAMED' \
  -e CNOSDB_HOST='cnosdb:8904' \
  cnosdb/tb-postgres-cnosdb:0.0.1
Visit [http://127.0.0.1:90909] (http://localhost:9090), you will see the login interface of ThingsBoard.
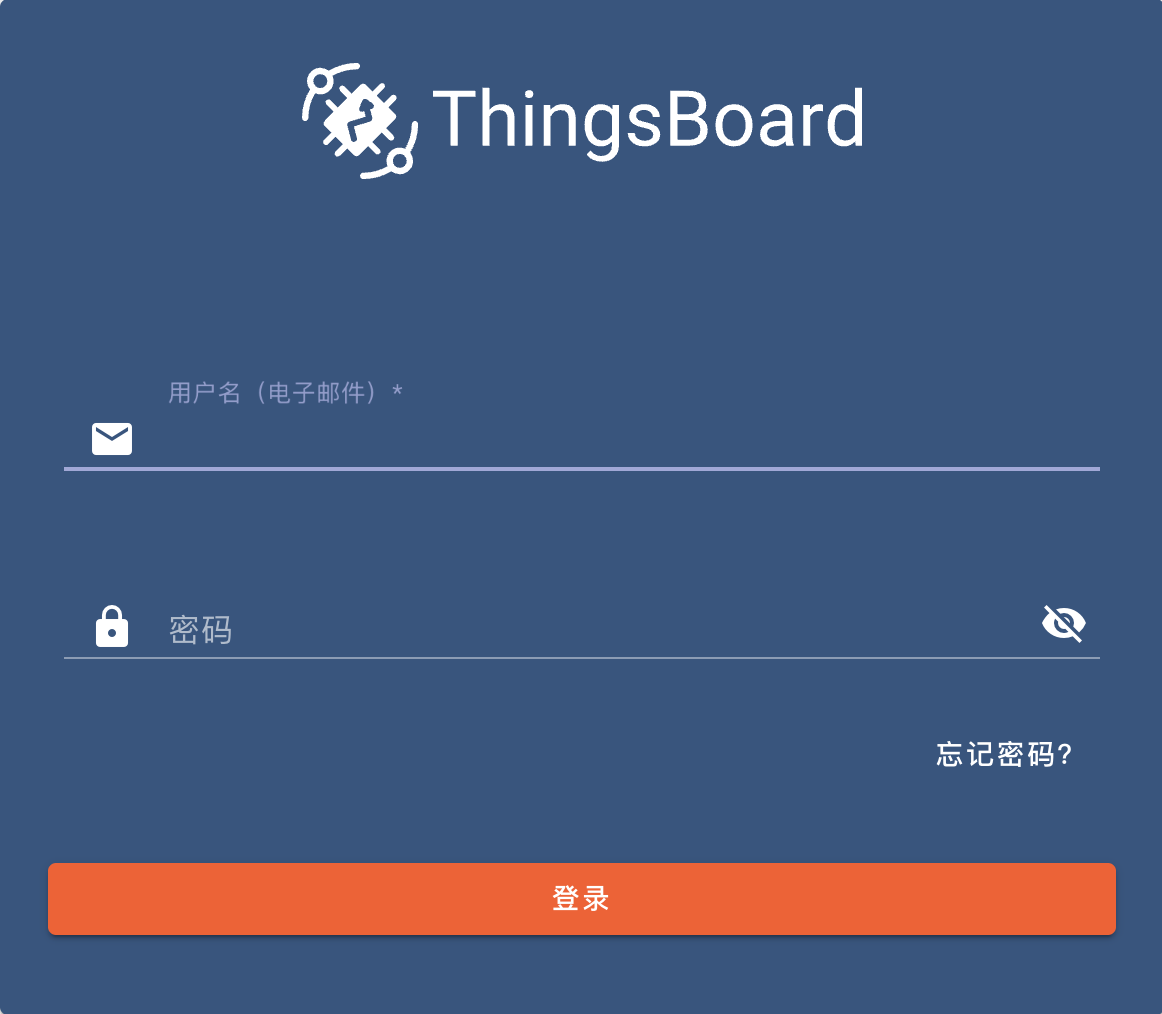
Next, use the default tenant login interface:
- Username:
tenant@thingsboard.org - Password:
tenant
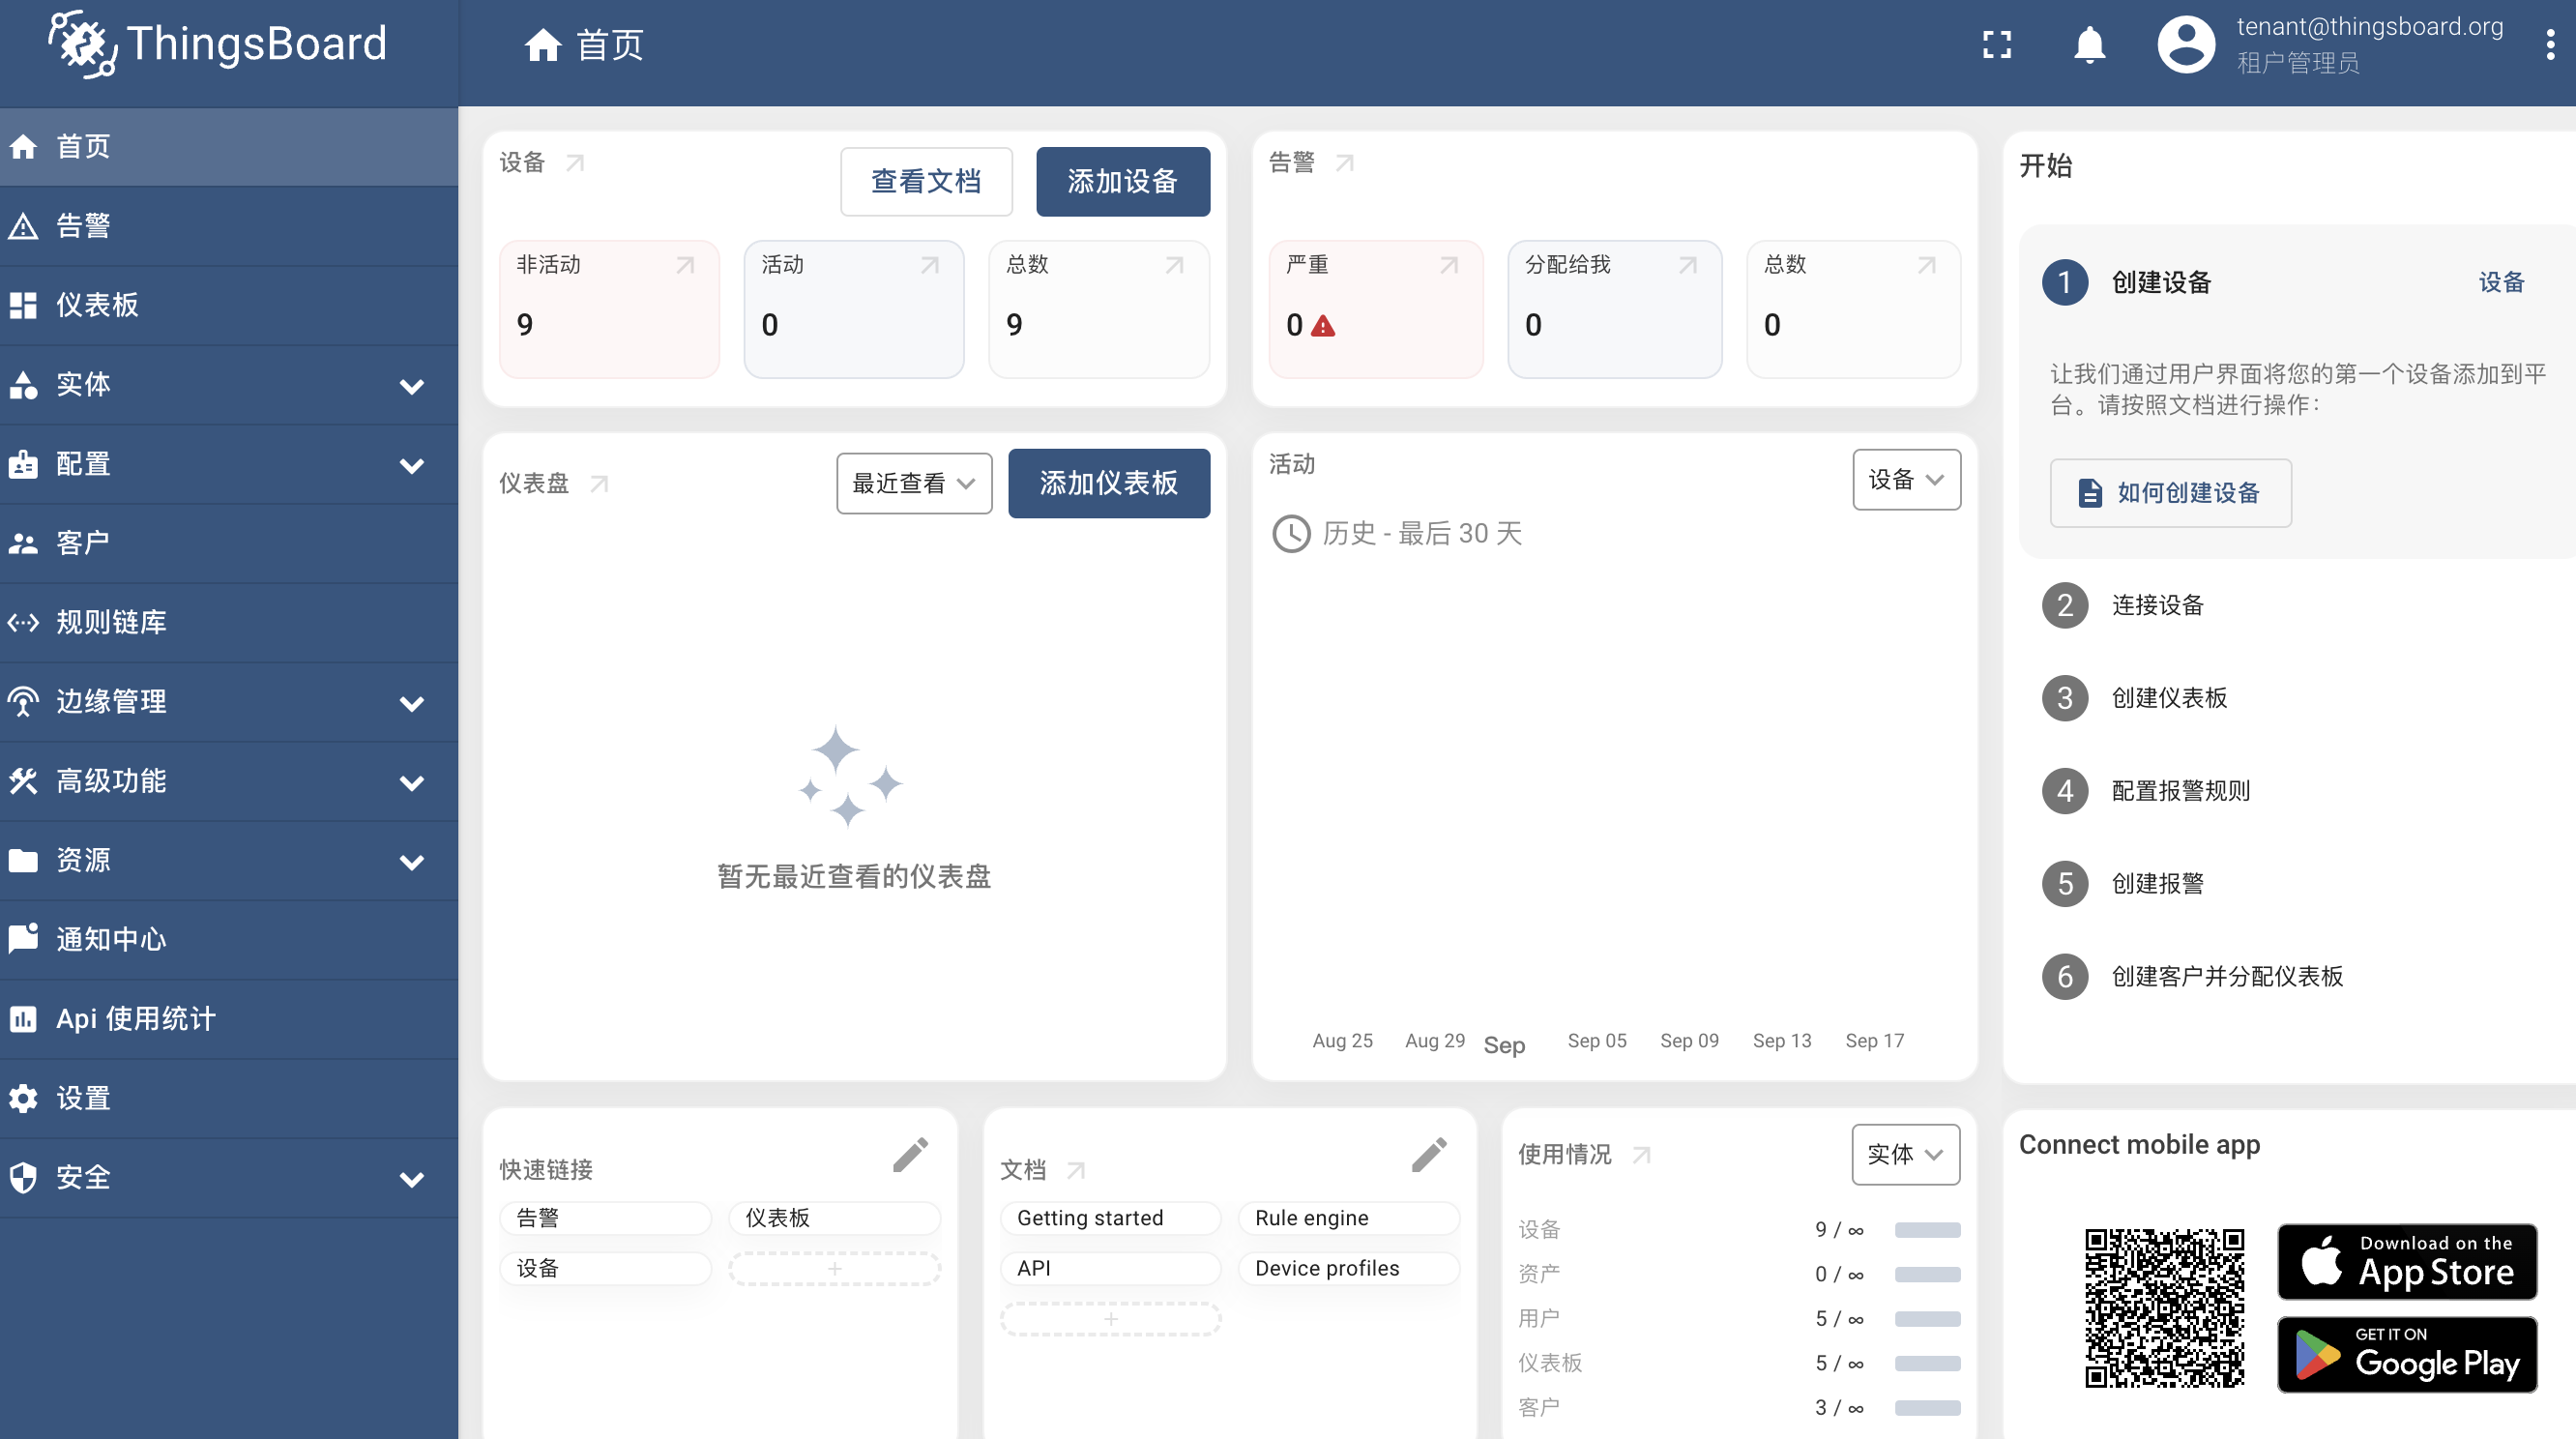
Step 3: Start Simulator Device
In ThingsBoard you need to create a new device and configure data sources to send data to CnosDB.
- Sign in to the ThingsBoard console.
- Open the 'entity/device' interface, click 'Add device' in the upper right corner and create a new device to record the access token (access token).
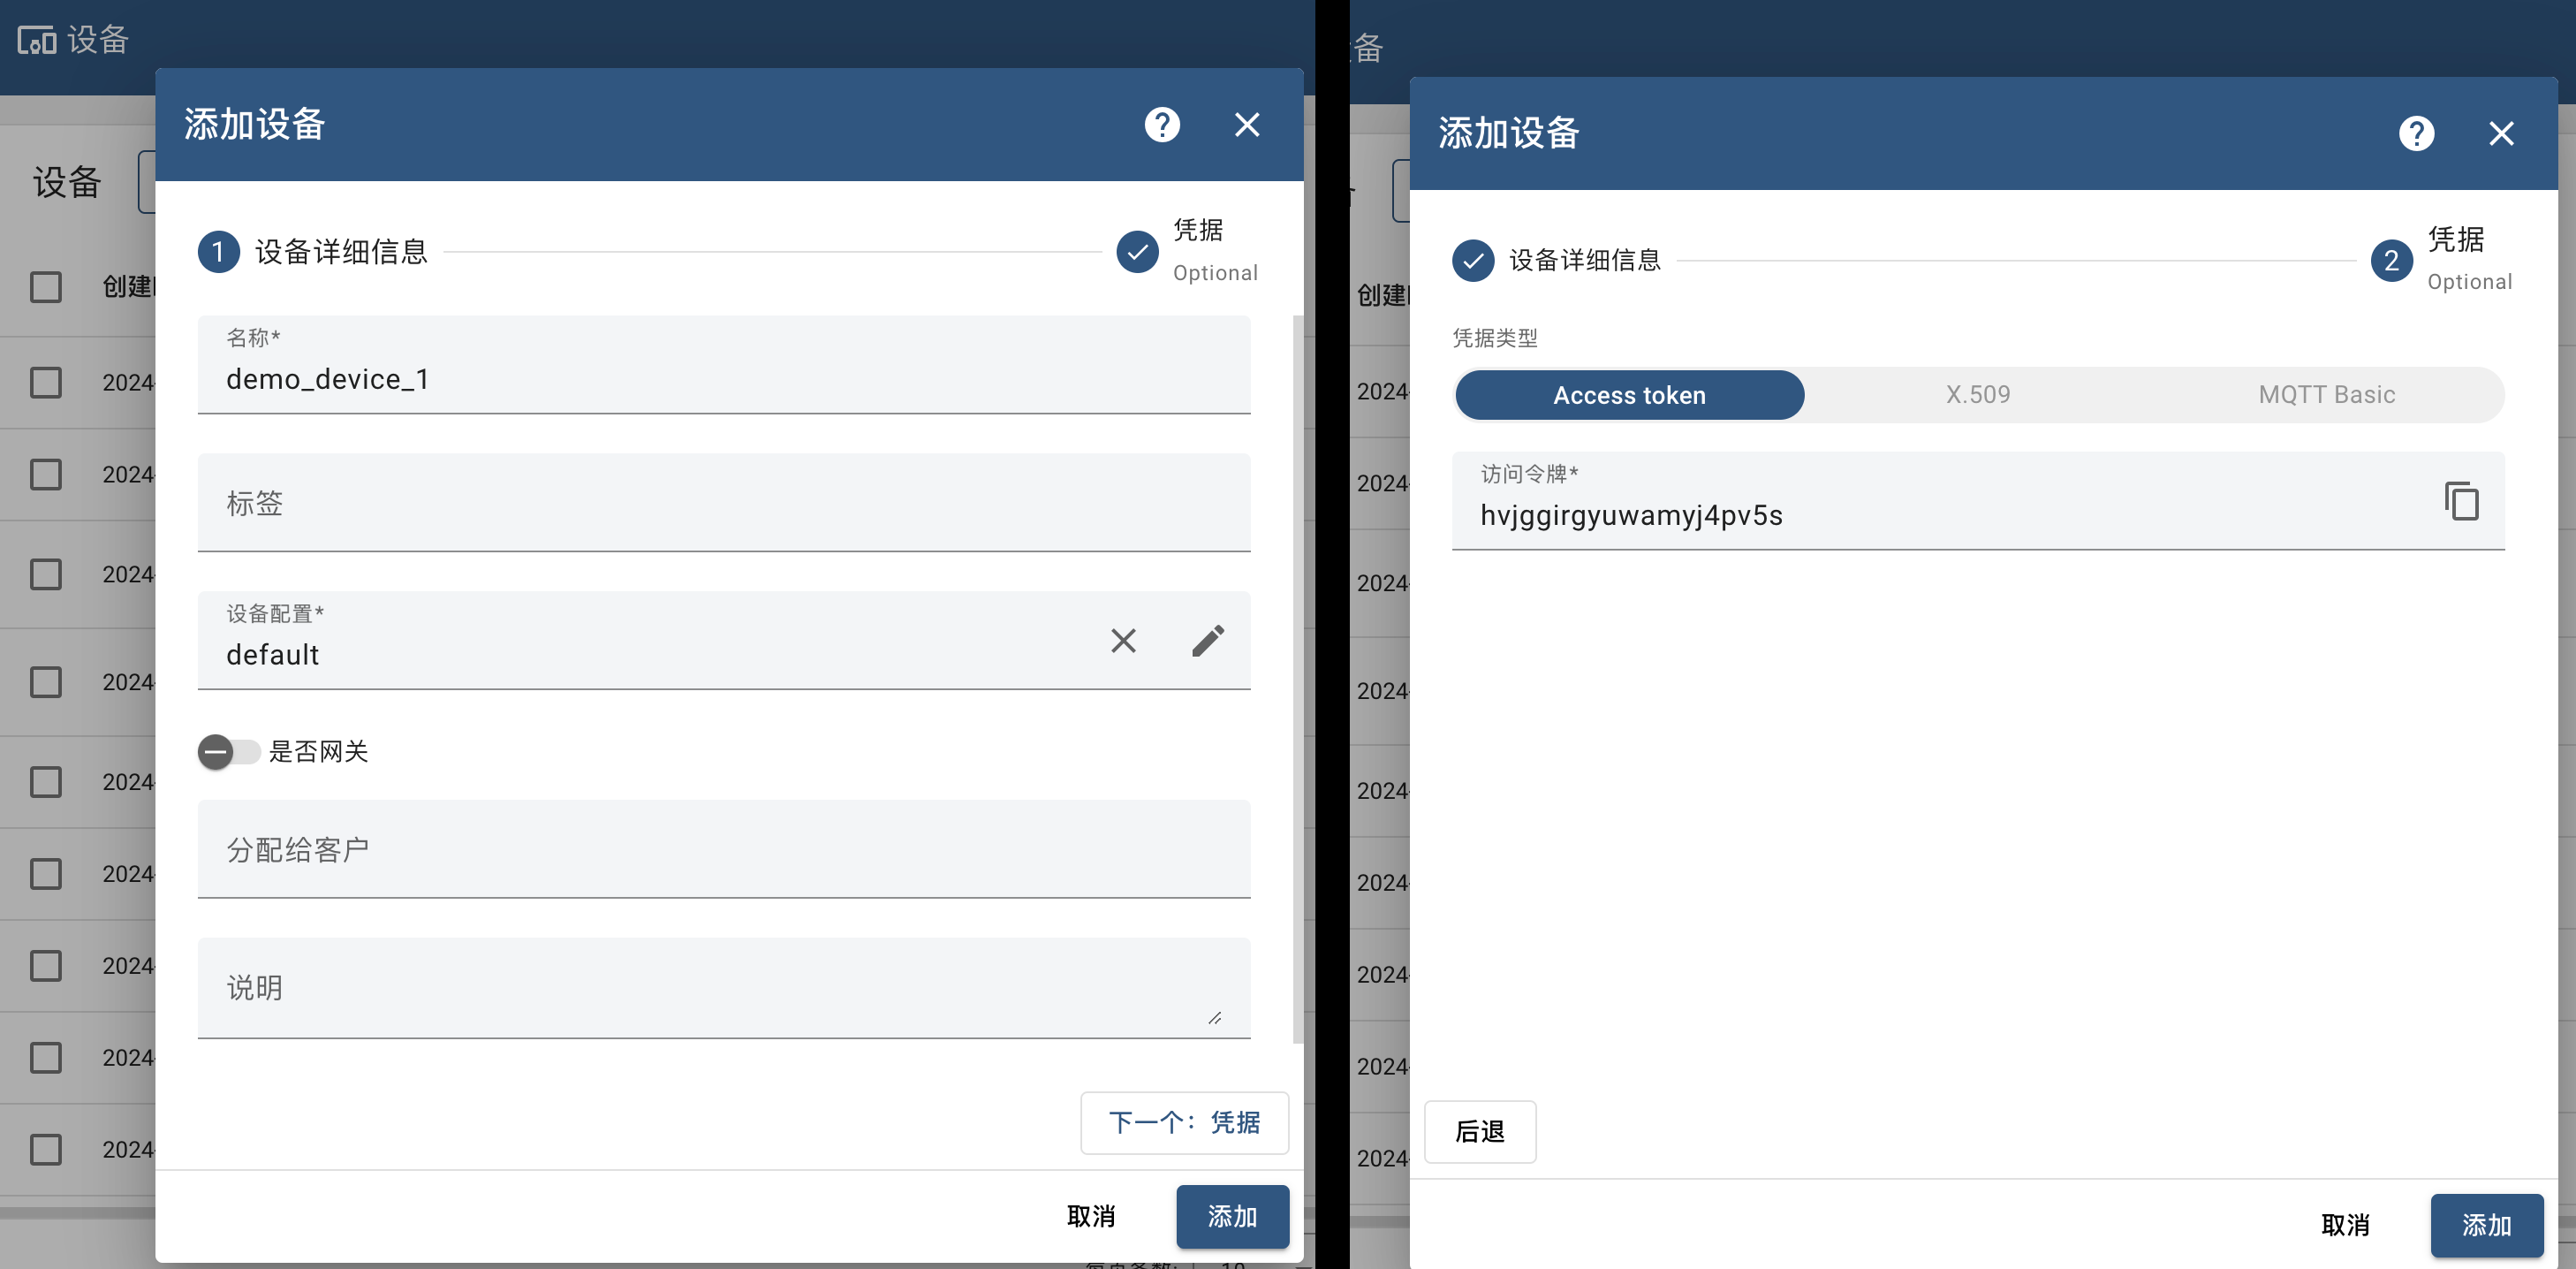
- Write a script using Python or other language to send telemetric data to ThingsBoard.For example:
First install the MQTT client tb-mqtt-client of ThingsBoard and the dependent paho-mqtt component:
pip3 install paho-mqtt
pip3 install tb-mqtt-client
Writing Python script:
from tb_device_mqtt import TBDeviceMqttClient, TBPublishInfo
import time
import random

# 初始化 MQTT 客户端
client = TBDeviceMqttClient(host="127.0.0.1", username="访问令牌")
# 连接 ThingsBoard
client.connect()
# 每 10 秒发送一次遥测数据,共发送 10 次
# 遥测数据包含 temperature、enabled、currentFirmwareVersion 三个属性
for _ in range(10):
    telemetry = {"temperature": random.uniform(10, 15), "enabled": True, "currentFirmwareVersion": "v1.1.0"}
    # 发送遥测数据(默认 QoS = 1)
    result = client.send_telemetry(telemetry)
    # 调用阻塞函数 get() 来取得发送结果
    is_success = result.get() == TBPublishInfo.TB_ERR_SUCCESS
    print("Telemetry was published:", is_success)
    # 等待 10 秒
    time.sleep(10)
# 断开连接
client.disconnect()
- Run Python script
python3 ./python/mqtt.py
Expected output following:
Waiting for connection to be established before sending data to ThingsBoard!
Telemetry was published: True
Telemetry was published: True
Telemetry was published: True
Telemetry was published: True
Telemetry was published: True
Telemetry was published: True
Timeout while waiting for service configuration!, session will use default configuration.
Telemetry was published: True
Telemetry was published: True
Telemetry was published: True
Telemetry was published: True
MQTT client was disconnected with reason code 0 (The operation completed successfully.)
Step 4: Verify Data Storage
- Open the 'entity/device' interface, click on the device in the list, and click 'Copy Device ID' on the popup page.
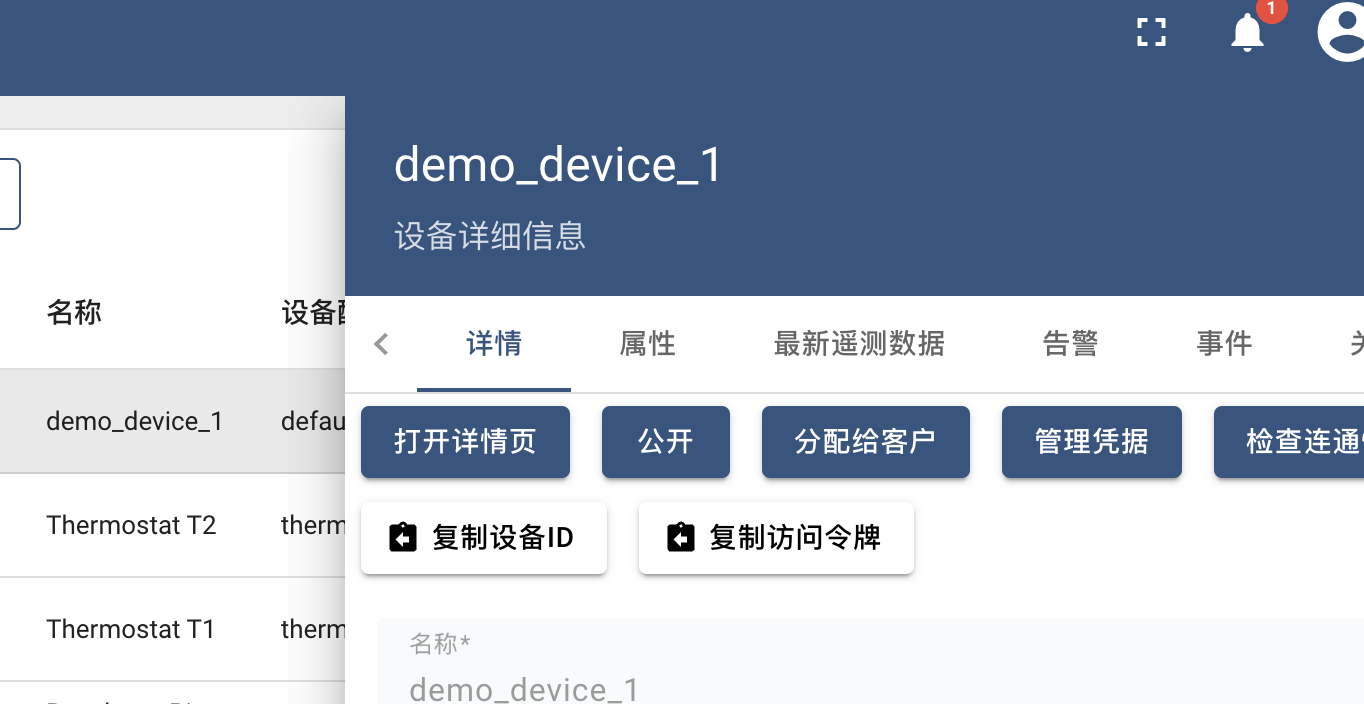
Execute SQL validation data storage.
docker exec cnosdb curl -s -X POST -u 'root:' 'http://127.0.0.1:8902/api/v1/sql?db=thingsboard' -d "SELECT * FROM ts_kv WHERE entity_id = '设备ID' ORDER BY time ASC"
When properly running, the results are shown below in:
time,entity_type,entity_id,key,partition,bool_v,str_v,long_v,dbl_v,json_v
2024-05-09T07:08:09.466000000,,4d91a170-797c-11ef-a9f4-41fb9b44b87d,58,,,v1.1.0,,,
2024-05-09T07:08:09.466000000,,4d91a170-797c-11ef-a9f4-41fb9b44b87d,57,,true,,,,
2024-05-09T07:08:09.466000000,,4d91a170-797c-11ef-a9f4-41fb9b44b87d,39,,,,,12.730445863623686,
2024-05-09T07:08:09.480000000,,4d91a170-797c-11ef-a9f4-41fb9b44b87d,58,,,v1.1.0,,,
2024-05-09T07:08:09.480000000,,4d91a170-797c-11ef-a9f4-41fb9b44b87d,57,,true,,,,
2024-05-09T07:08:09.480000000,,4d91a170-797c-11ef-a9f4-41fb9b44b87d,39,,,,,12.730445863623686,
2024-05-09T07:08:09.493000000,,4d91a170-797c-11ef-a9f4-41fb9b44b87d,58,,,v1.1.0,,,
2024-05-09T07:08:09.493000000,,4d91a170-797c-11ef-a9f4-41fb9b44b87d,57,,true,,,,
2024-05-09T07:08:09.493000000,,4d91a170-797c-11ef-a9f4-41fb9b44b87d,39,,,,,14.663143608620802,
2024-05-09T07:08:09.500000000,,4d91a170-797c-11ef-a9f4-41fb9b44b87d,58,,,v1.1.0,,,
2024-05-09T07:08:09.500000000,,4d91a170-797c-11ef-a9f4-41fb9b44b87d,57,,true,,,,
2024-05-09T07:08:09.500000000,,4d91a170-797c-11ef-a9f4-41fb9b44b87d,39,,,,,14.663143608620802,
2024-05-09T07:08:09.532000000,,4d91a170-797c-11ef-a9f4-41fb9b44b87d,58,,,v1.1.0,,,
2024-05-09T07:08:09.532000000,,4d91a170-797c-11ef-a9f4-41fb9b44b87d,57,,true,,,,
2024-05-09T07:08:09.532000000,,4d91a170-797c-11ef-a9f4-41fb9b44b87d,39,,,,,14.078936704849081,
2024-05-09T07:08:09.552000000,,4d91a170-797c-11ef-a9f4-41fb9b44b87d,58,,,v1.1.0,,,
2024-05-09T07:08:09.552000000,,4d91a170-797c-11ef-a9f4-41fb9b44b87d,57,,true,,,,
2024-05-09T07:08:09.552000000,,4d91a170-797c-11ef-a9f4-41fb9b44b87d,39,,,,,14.078936704849081,
2024-05-09T07:08:09.566000000,,4d91a170-797c-11ef-a9f4-41fb9b44b87d,58,,,v1.1.0,,,
2024-05-09T07:08:09.566000000,,4d91a170-797c-11ef-a9f4-41fb9b44b87d,57,,true,,,,
2024-05-09T07:08:09.566000000,,4d91a170-797c-11ef-a9f4-41fb9b44b87d,39,,,,,14.704042825901556,
2024-05-09T07:08:09.567000000,,4d91a170-797c-11ef-a9f4-41fb9b44b87d,58,,,v1.1.0,,,
2024-05-09T07:08:09.567000000,,4d91a170-797c-11ef-a9f4-41fb9b44b87d,57,,true,,,,
2024-05-09T07:08:09.567000000,,4d91a170-797c-11ef-a9f4-41fb9b44b87d,39,,,,,14.704042825901556,
2024-05-09T07:08:09.577000000,,4d91a170-797c-11ef-a9f4-41fb9b44b87d,58,,,v1.1.0,,,
2024-05-09T07:08:09.577000000,,4d91a170-797c-11ef-a9f4-41fb9b44b87d,57,,true,,,,
2024-05-09T07:08:09.577000000,,4d91a170-797c-11ef-a9f4-41fb9b44b87d,39,,,,,13.731712874911237,
2024-05-09T07:08:09.580000000,,4d91a170-797c-11ef-a9f4-41fb9b44b87d,58,,,v1.1.0,,,
2024-05-09T07:08:09.580000000,,4d91a170-797c-11ef-a9f4-41fb9b44b87d,57,,true,,,,
2024-05-09T07:08:09.580000000,,4d91a170-797c-11ef-a9f4-41fb9b44b87d,39,,,,,13.731712874911237,
Step 5: Show Data
For more information on the use of dashboards, see official documents.
Create dashboard display data
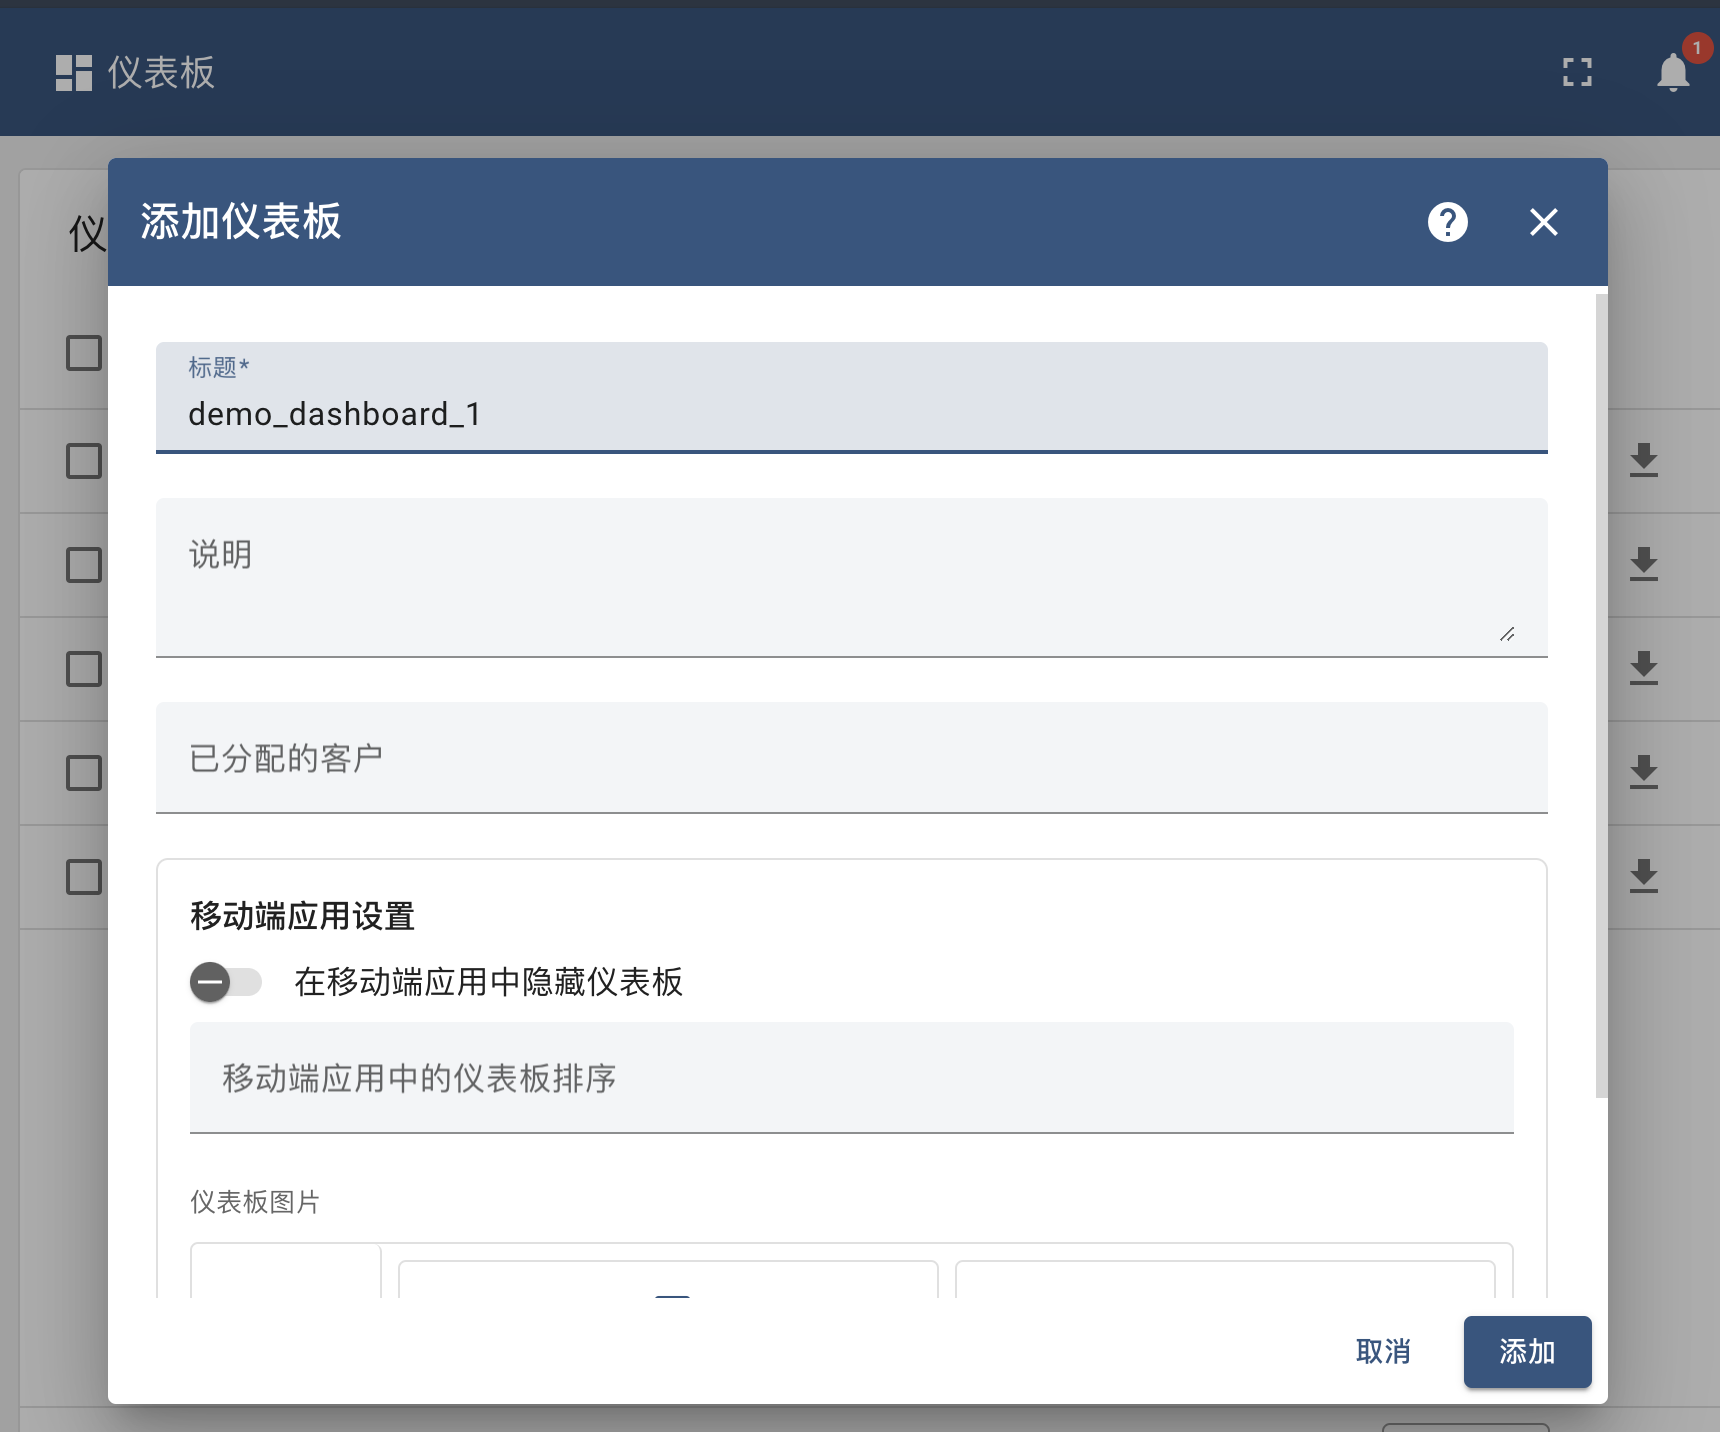
- Open the dashboard interface, click on the "Create dashboard" button in the top right, set the dashboard name, click "Add" in the bottom right corner to go to the dashboard layout interface.
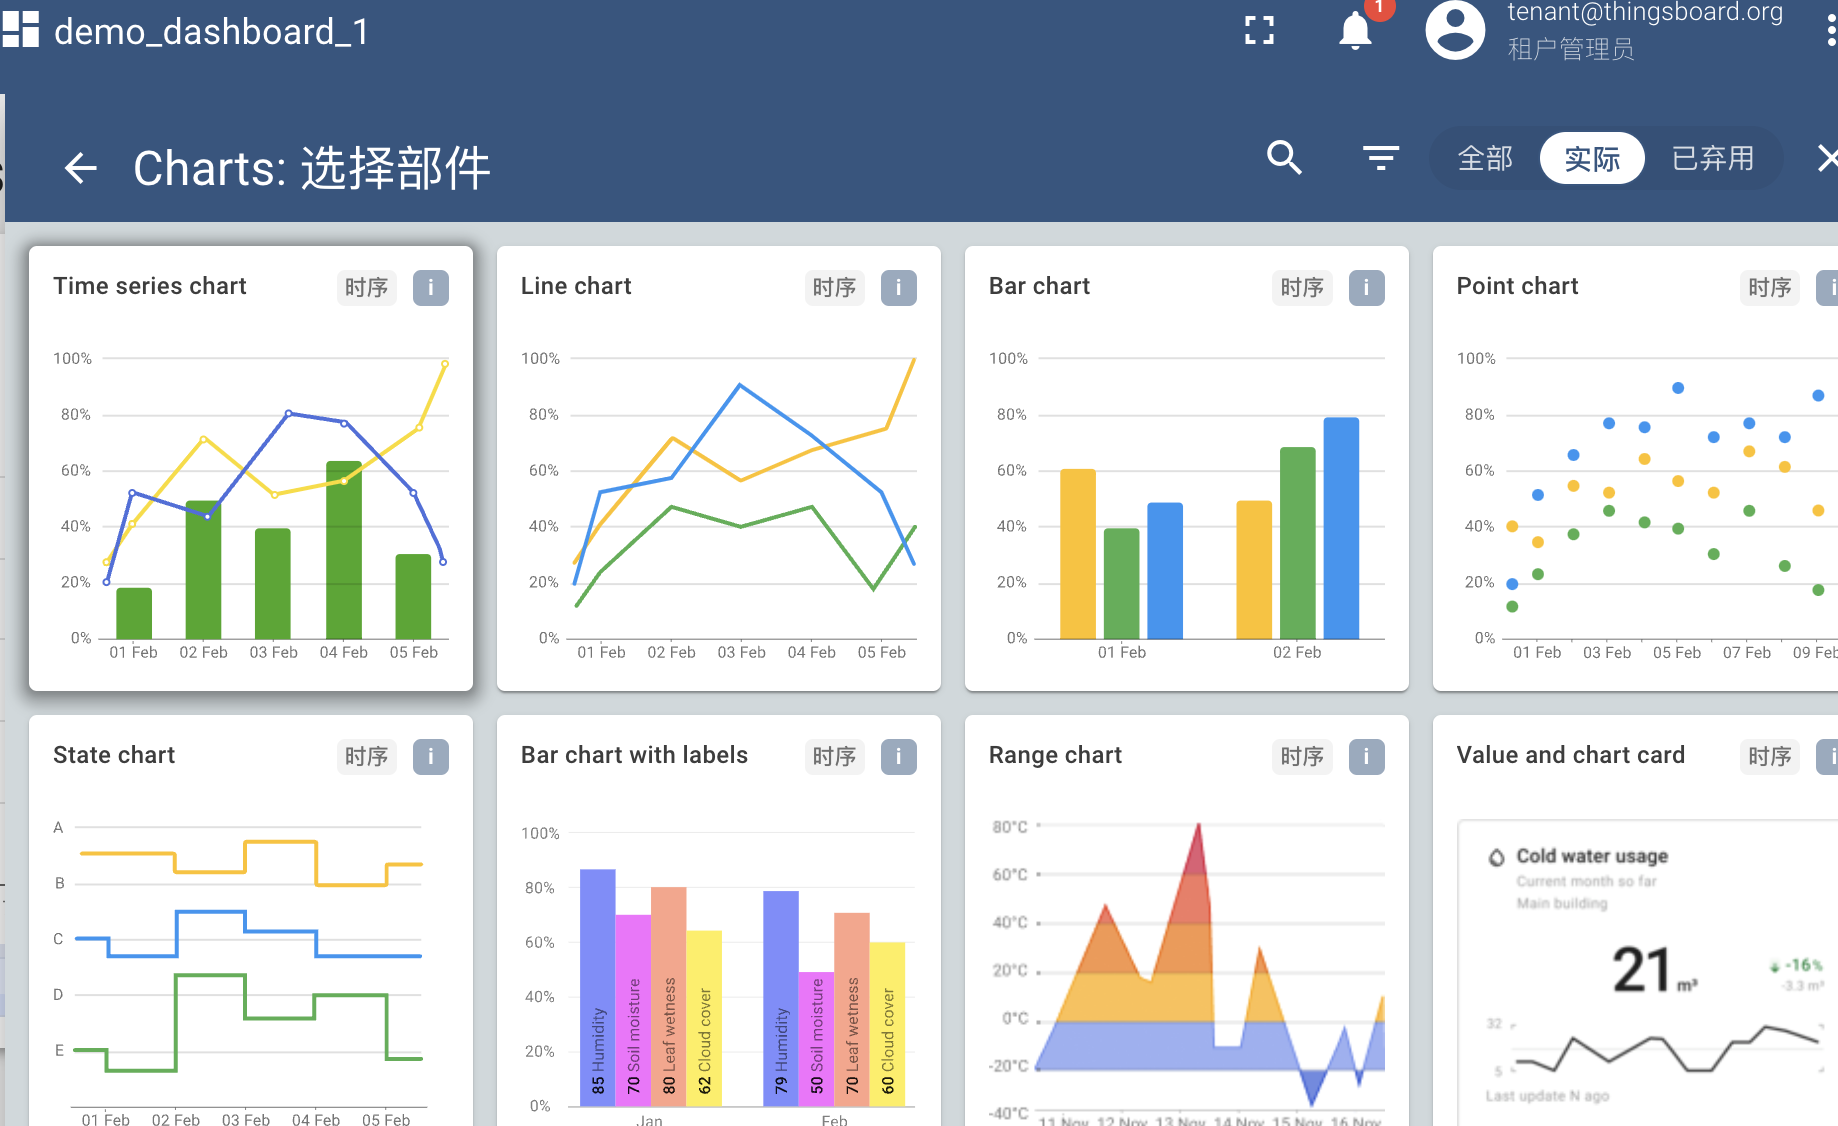
- Click "Add Widget", eject "Select Widget" window, select "Charts", and select "Time series chart" to go to the chart settings.
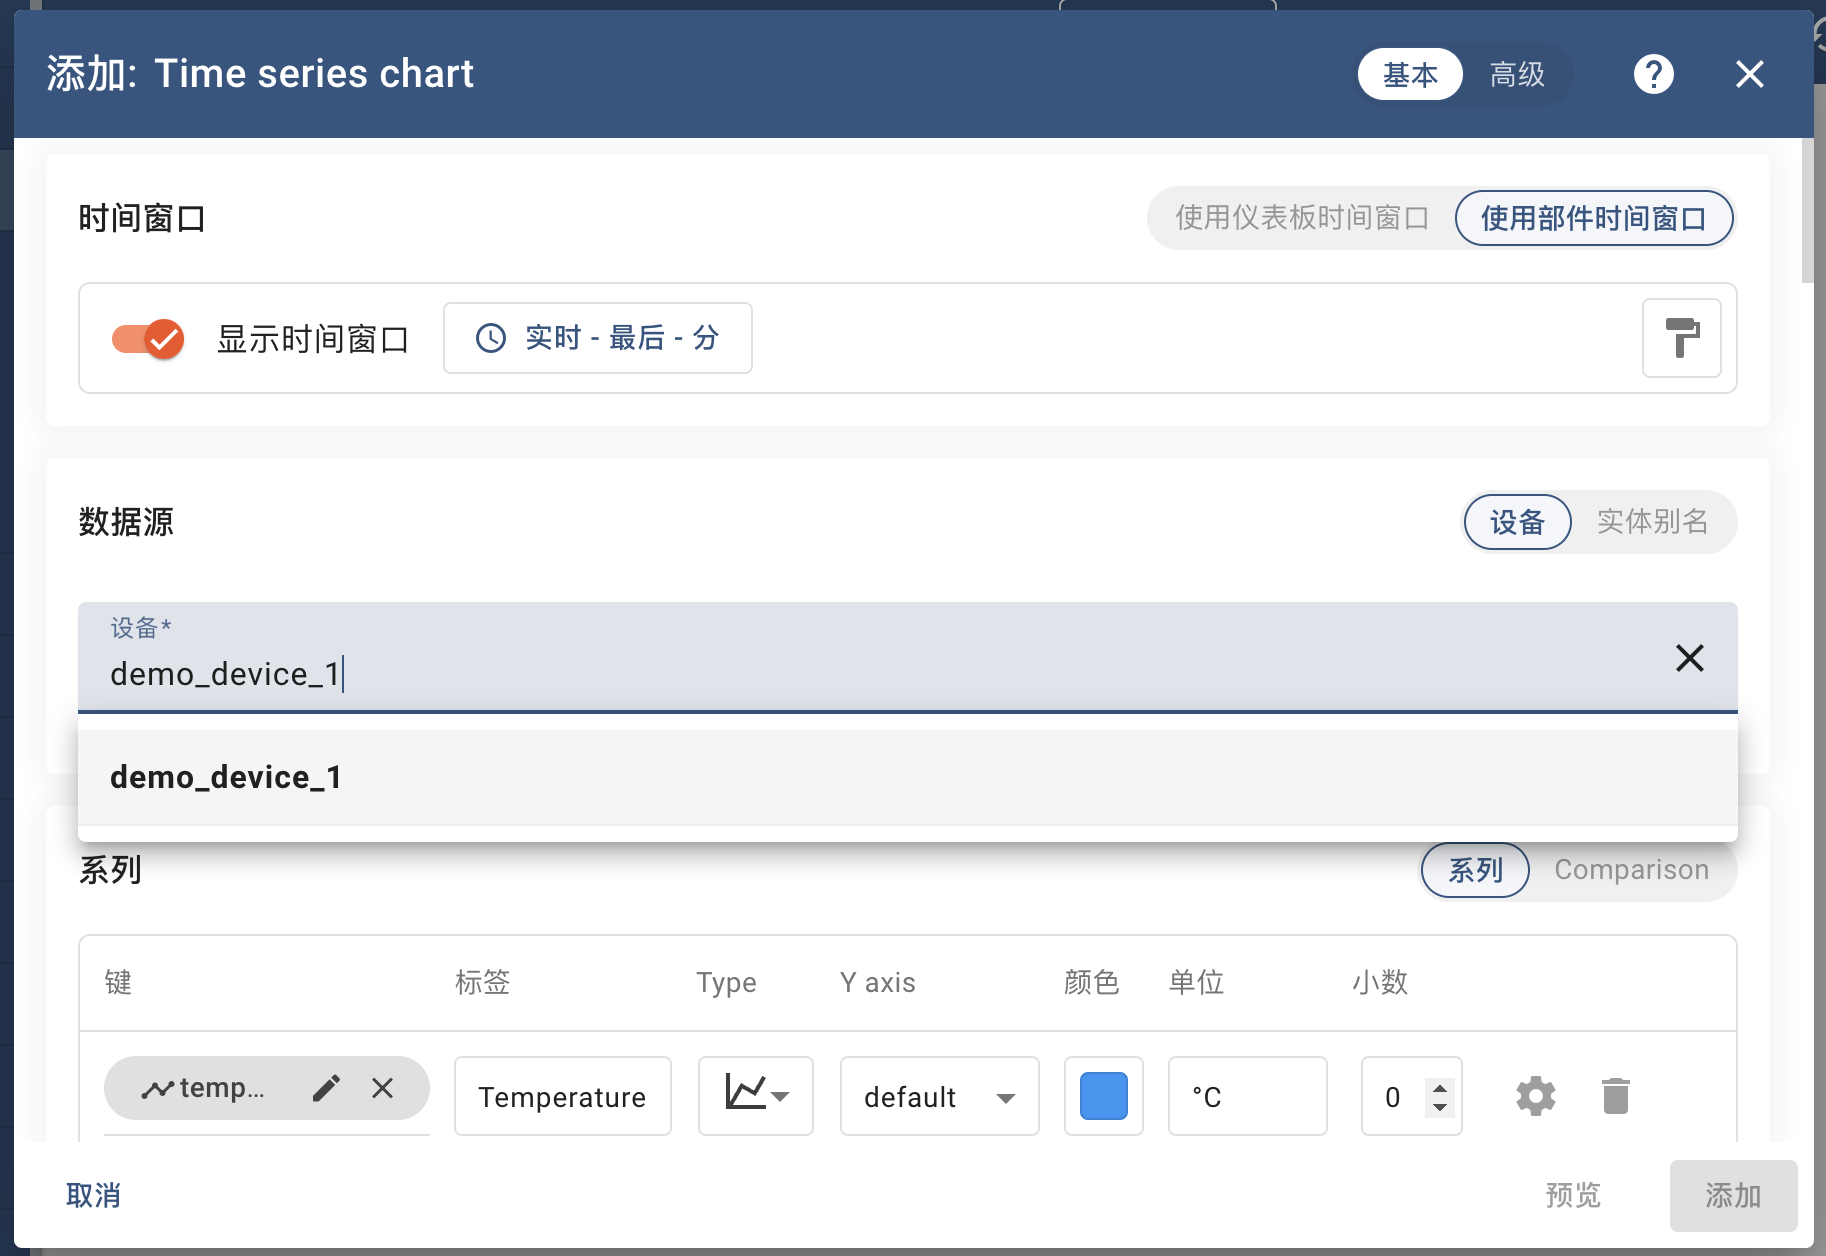
- Click on the "Datasource" input, select the device just created and click "Add" in the bottom right corner to return to the dashboard layout interface.
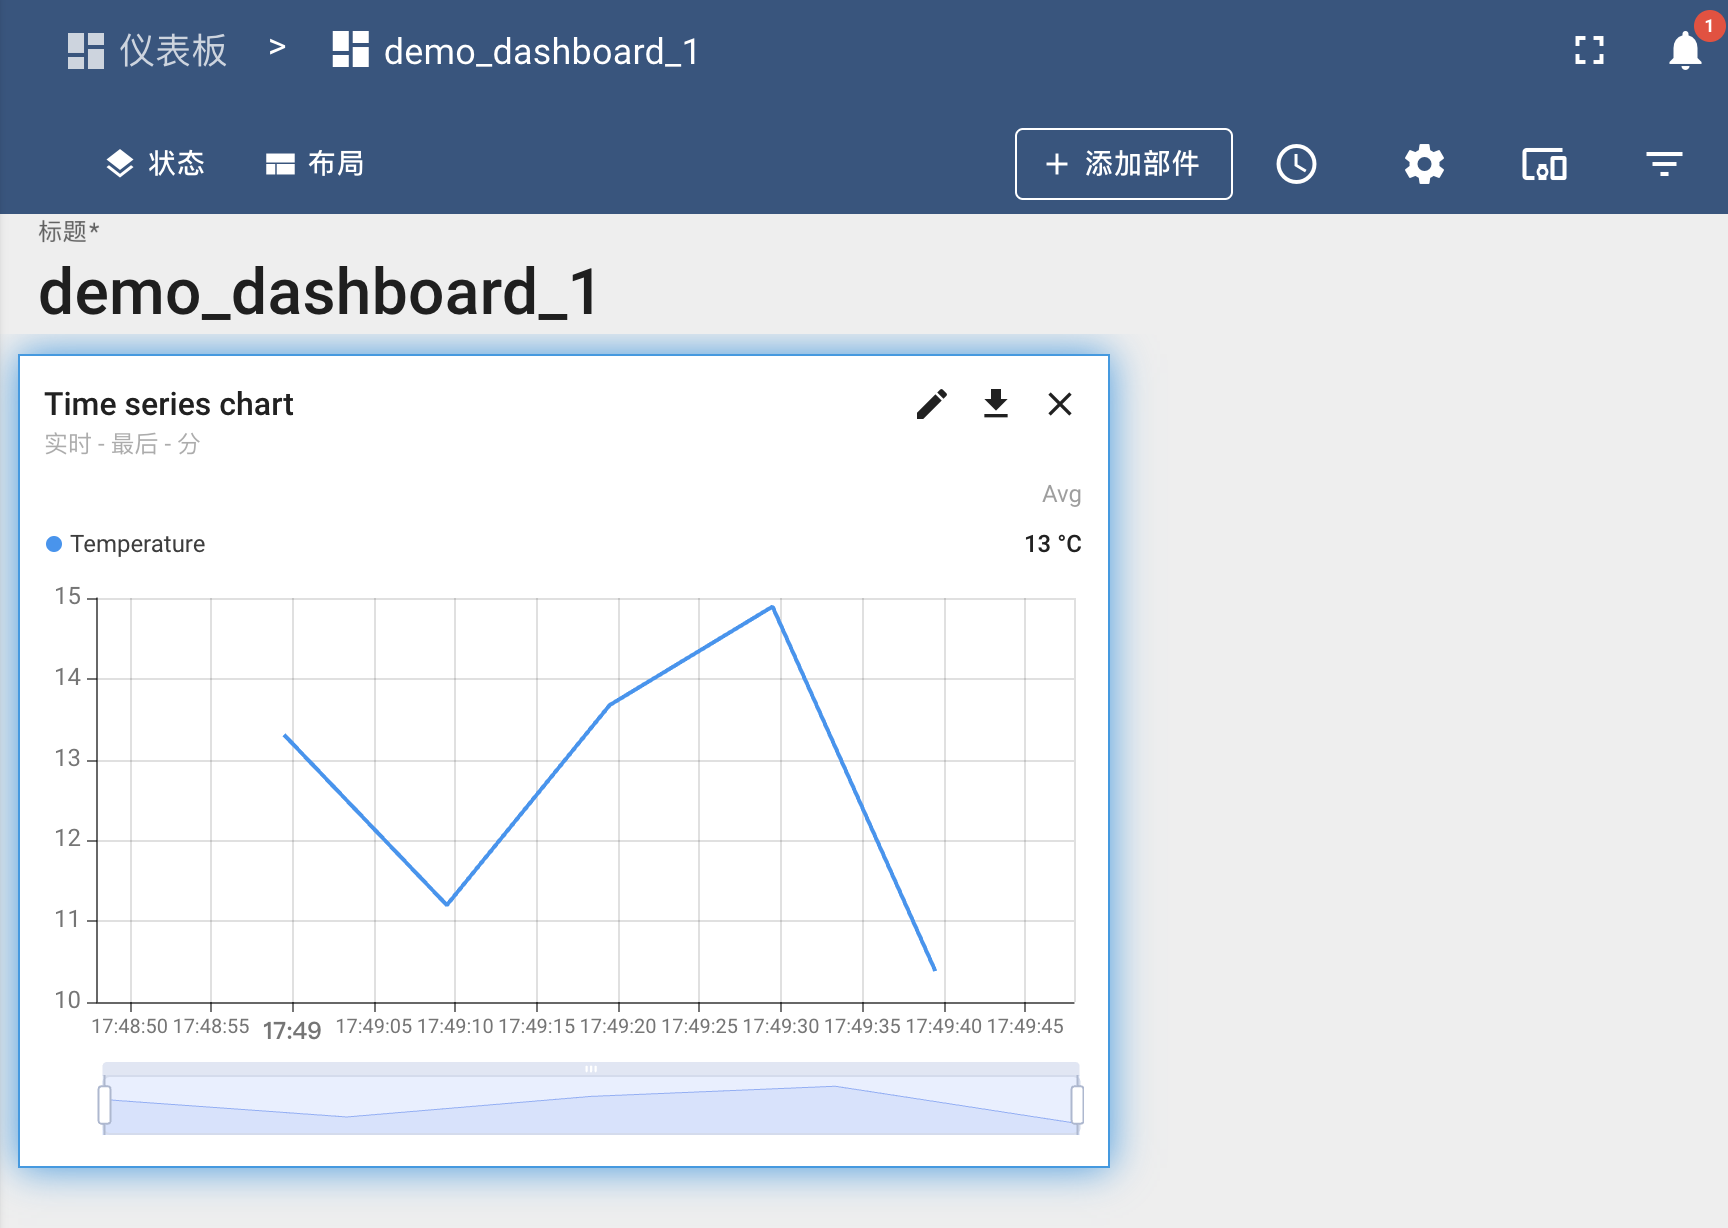
- The attached chart should be shown as a compromise diagram showing the simulation device to telemetric data from ThingsBoard.
Conclusion
By integrating ThingsBoard with CnosDB, you can store and manage telemetric data efficiently.This combination not only enhances data processing capacity, but also enhances data visualization and analysis.I hope this will help you complete your integration successfully.Please contact you if you have any questions or suggestions.